By ENIAC, originally posted on posted on mynissanleaf.com.
Even though there’s an access panel inside the glove box as well as another access panel underneath, which both pop out without tools, I feel the easiest procedure is to remove the glove box. Here’s why. First the cabin filter cover is very tight and difficult to remove and second the cabin filter removal can cause debris on the filter to fly around. The cabin filter must be squeezed (like an accordion) and folded in a bit to remove it. As you pull the filter out, the filter springs back and debris shoots off of it. If you are accessing the filter from underneath looking up behind the glove box, that debris could get in your eyes and all over your face.
With that, here’s what I did.
- Remove the panel underneath the glove box. Pull down, no tools needed
- Open the glove box door
- Remove 4 phillips head screws at the top of the glove box
- Close the glove box door
- Remove 4 phillips head screws at the bottom of the glove box
- Open the glove box door
- Remove 2 phillips head screws on the inside of the glove box
- Close the glove box door
- Reaching underneath, pull glove box toward you. Take your time, don’t try and over power it. It’s plastic and could crack. There are connectors on the right front side of the glove box which your pulling will cause to release. They are a toolless design, similar to the panel underneath you removed.
- Once the glove box drops a bit, remove the light assembly at the top. Don’t try to unplug the light from the connector, just simply pop the whole light assembly out from the glove box. (it’s very easy)
- Set the glove box aside
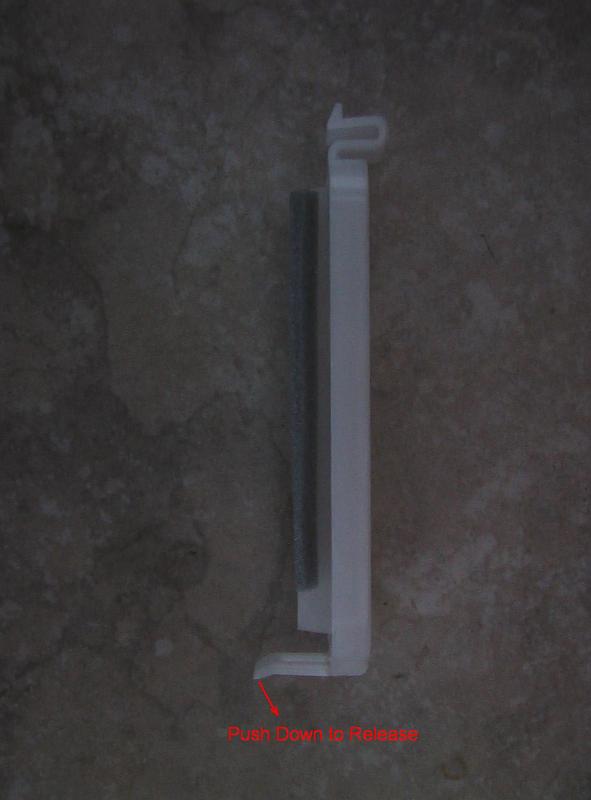
- Looking inside the vehicle, locate the white cabin filter cover on the left side where the glove box was
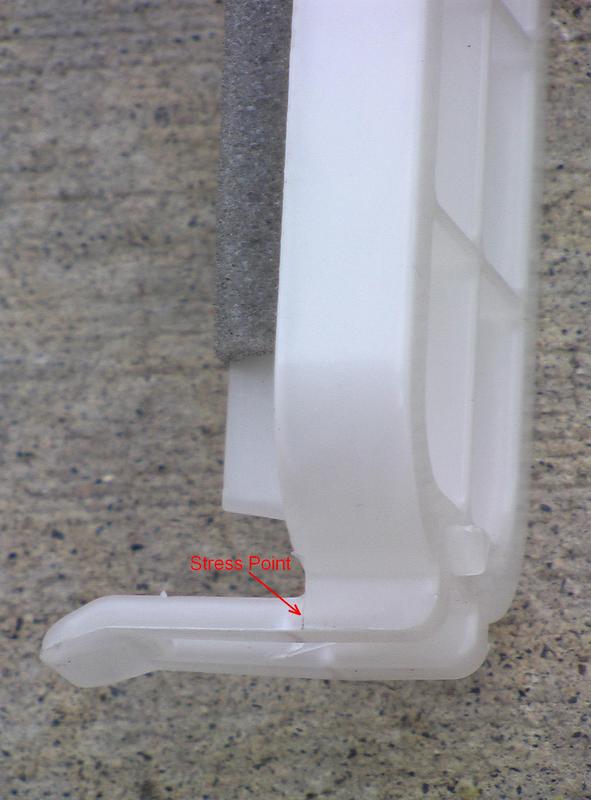
- There’s a tab at the bottom of the cover which must be depressed to pop the cover off. If you can press the tab down with your fingers to remove it, great! However mine wouldn’t budge. If yours won’t budge, here’s what you do.
- Slip a flat thin screwdriver into the side of the tab toward the back of the tab. Gently rock the screwdriver slightly counterclockwise four or five times. This will warm up the plastic a bit.
- Once the filter is removed you may want to vacuum the filter cavity using your vacuum’s crevice attachment
- To install the new filter you pinch the front edge and insert it
- Pinching and rocking it will enable you to easily work it into place. The video also show this procedure
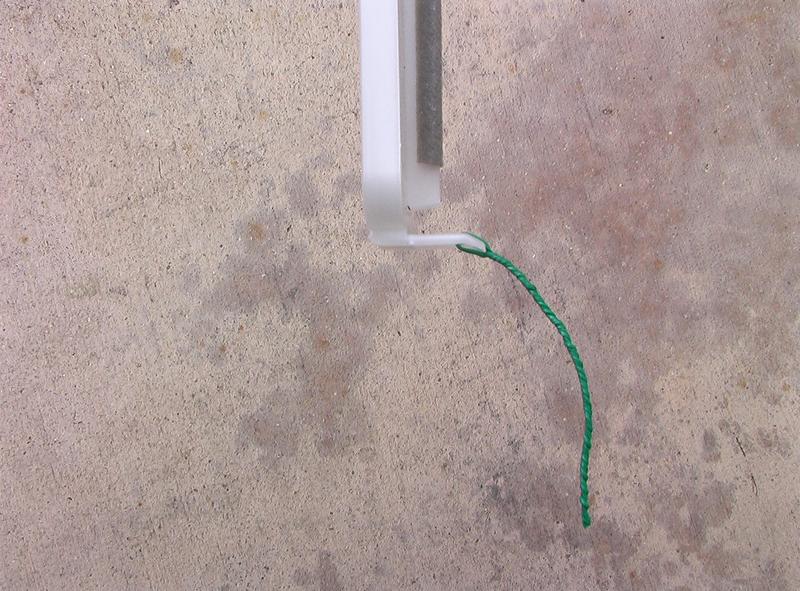
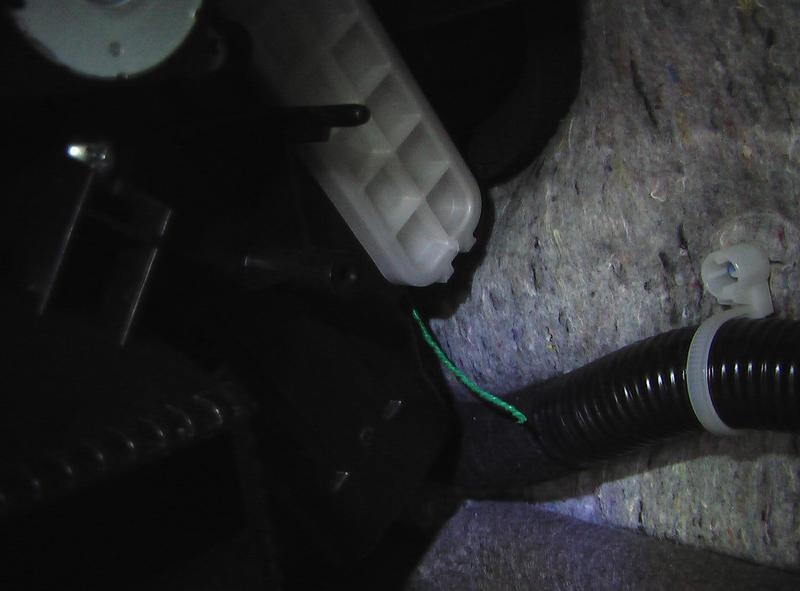
- I modified my filter cover using a strand of plastic coated wire. This will allow me to pull down on the tab instead of using a screwdriver and risk damaging that tab any further
Some LEAF owners have used this cabin air filter http://www.amazon.com/ATP-RA-136-Carbon-Activated-Premium/dp/B005R4JF0K/